Next: Turret Placement Up: Defending Your Base Previous: Turret Composition Contents
The next step to laying out your base is to decide where you want to place your base. There are 3 most effective base positions:
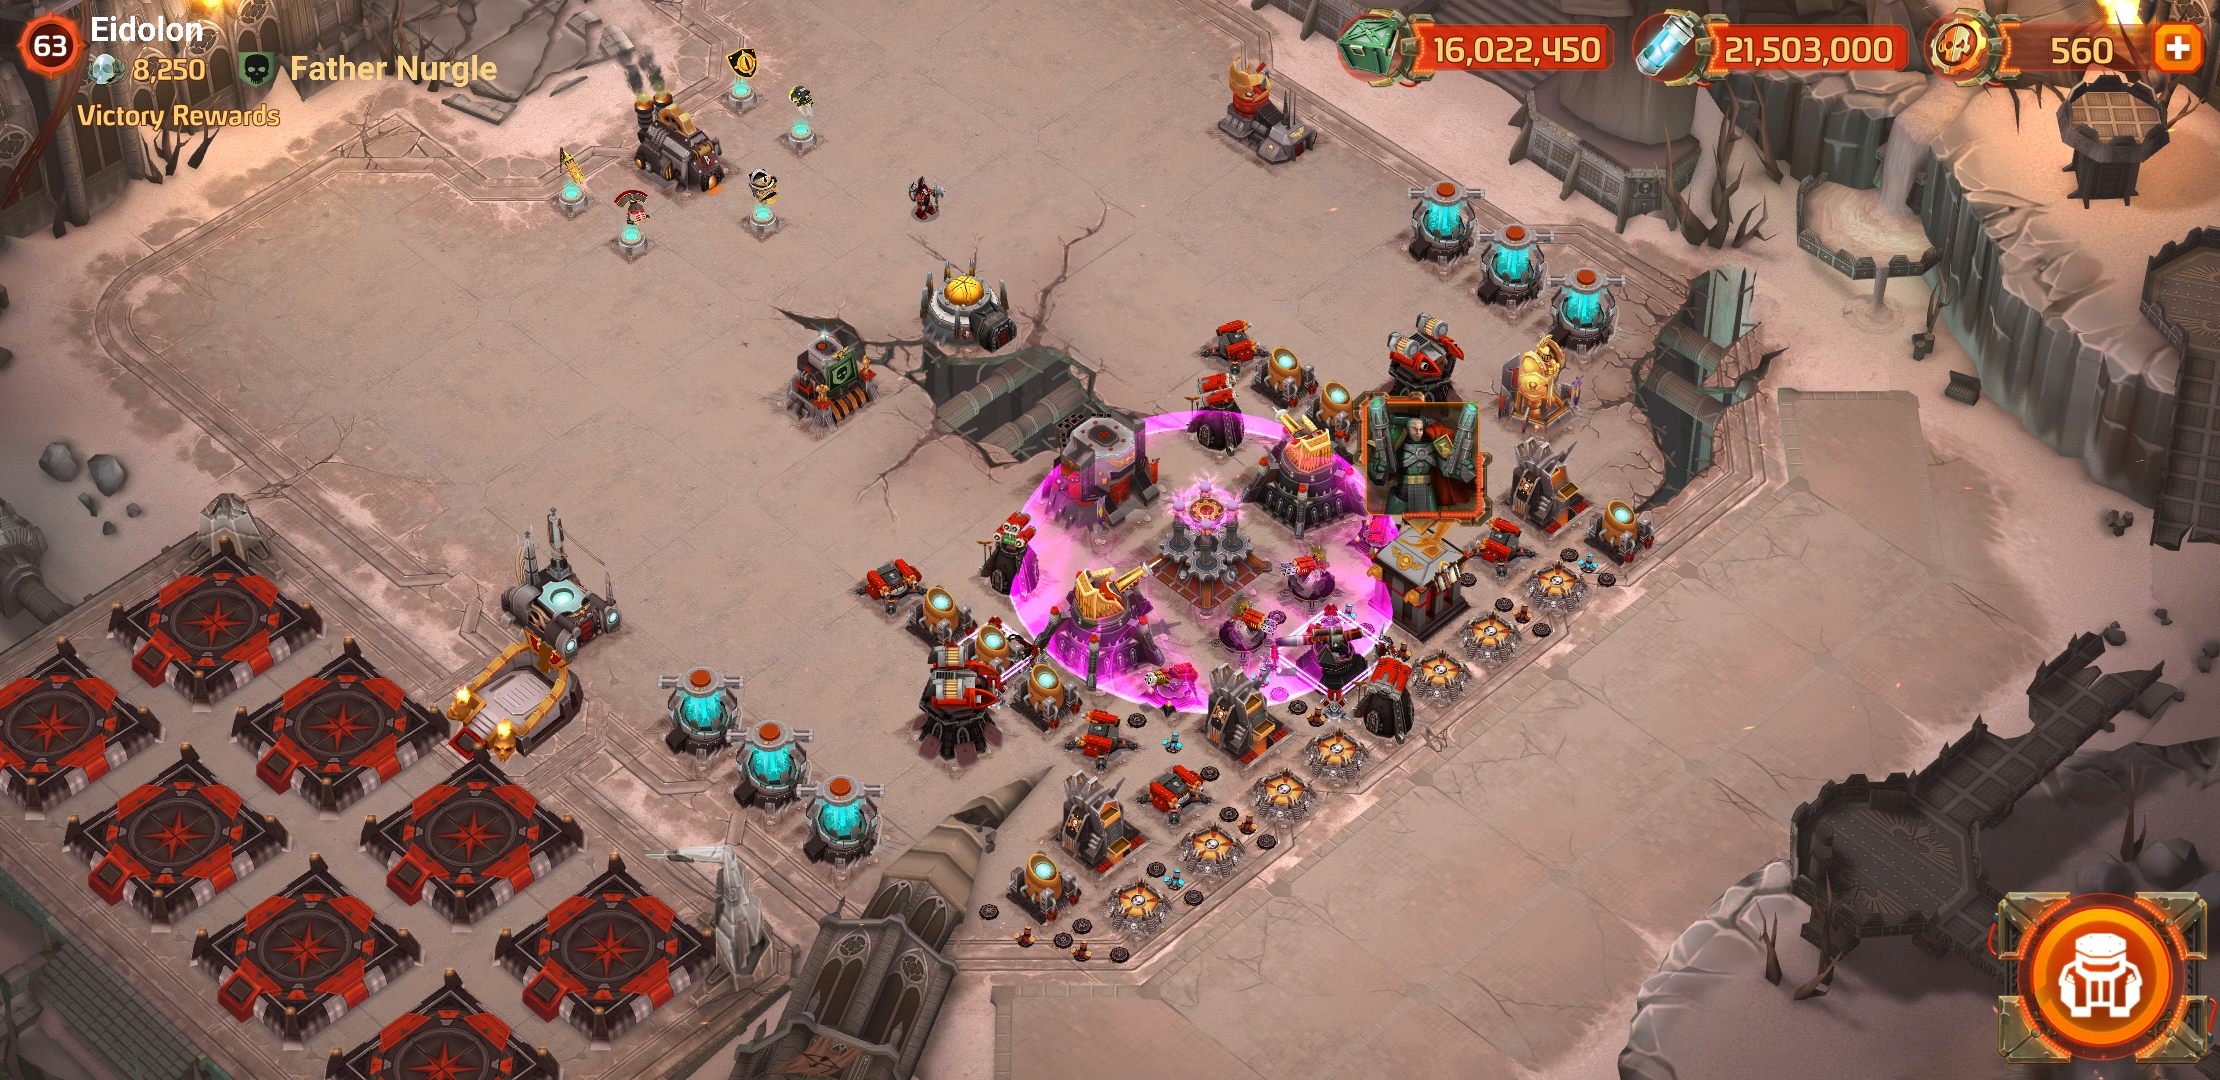
Keeping all your buildings near the drop zone means many of your turrets can all start firing at your opponent right away. This is very effective against longer-range units/heroes (e.g. glaives) that outrange many of your turrets as they cannot position themselves far enough from the turrets to avoid taking damage.
Place longer-range turrets at the back, and shorter-range turrets at the front. Place your scriptorum near the front so your hero deploys immedately.
The key to this layout is to have all your dps working for you from the moment of deployment. If your opponent does not have enough good tactics/health to withstand your turrets in the first seconds, they will get wiped out quickly.
But, this base layout is very weak against Archmagos Draykavac as he can dominate most or all of your base immediately, giving your opponent a chance to destroy a lot of the base without taking any damage. Consider putting some of your beamers far enough back that they are not in Dray's tactic range.
The front position is also a bit weaker against heroes with stealth (since they waste none of their stealth time traveling to your base).
Finally, it is vulnerable to the Horus bomb strategy. In this strategy, Horus, accompanied by high-dps units such as tacticals or bikes, uses his tactic directly on the HQ and attempts to eliminate the HQ while keeping turrets haywired/dominated. This works better against a front position as he can typically teleport directly to the HQ from the drop zone.
Overall, this base layout is good at lower levels (30 or below) but once you get to higher levels, is too vulnerable to certain well-designed attacks.
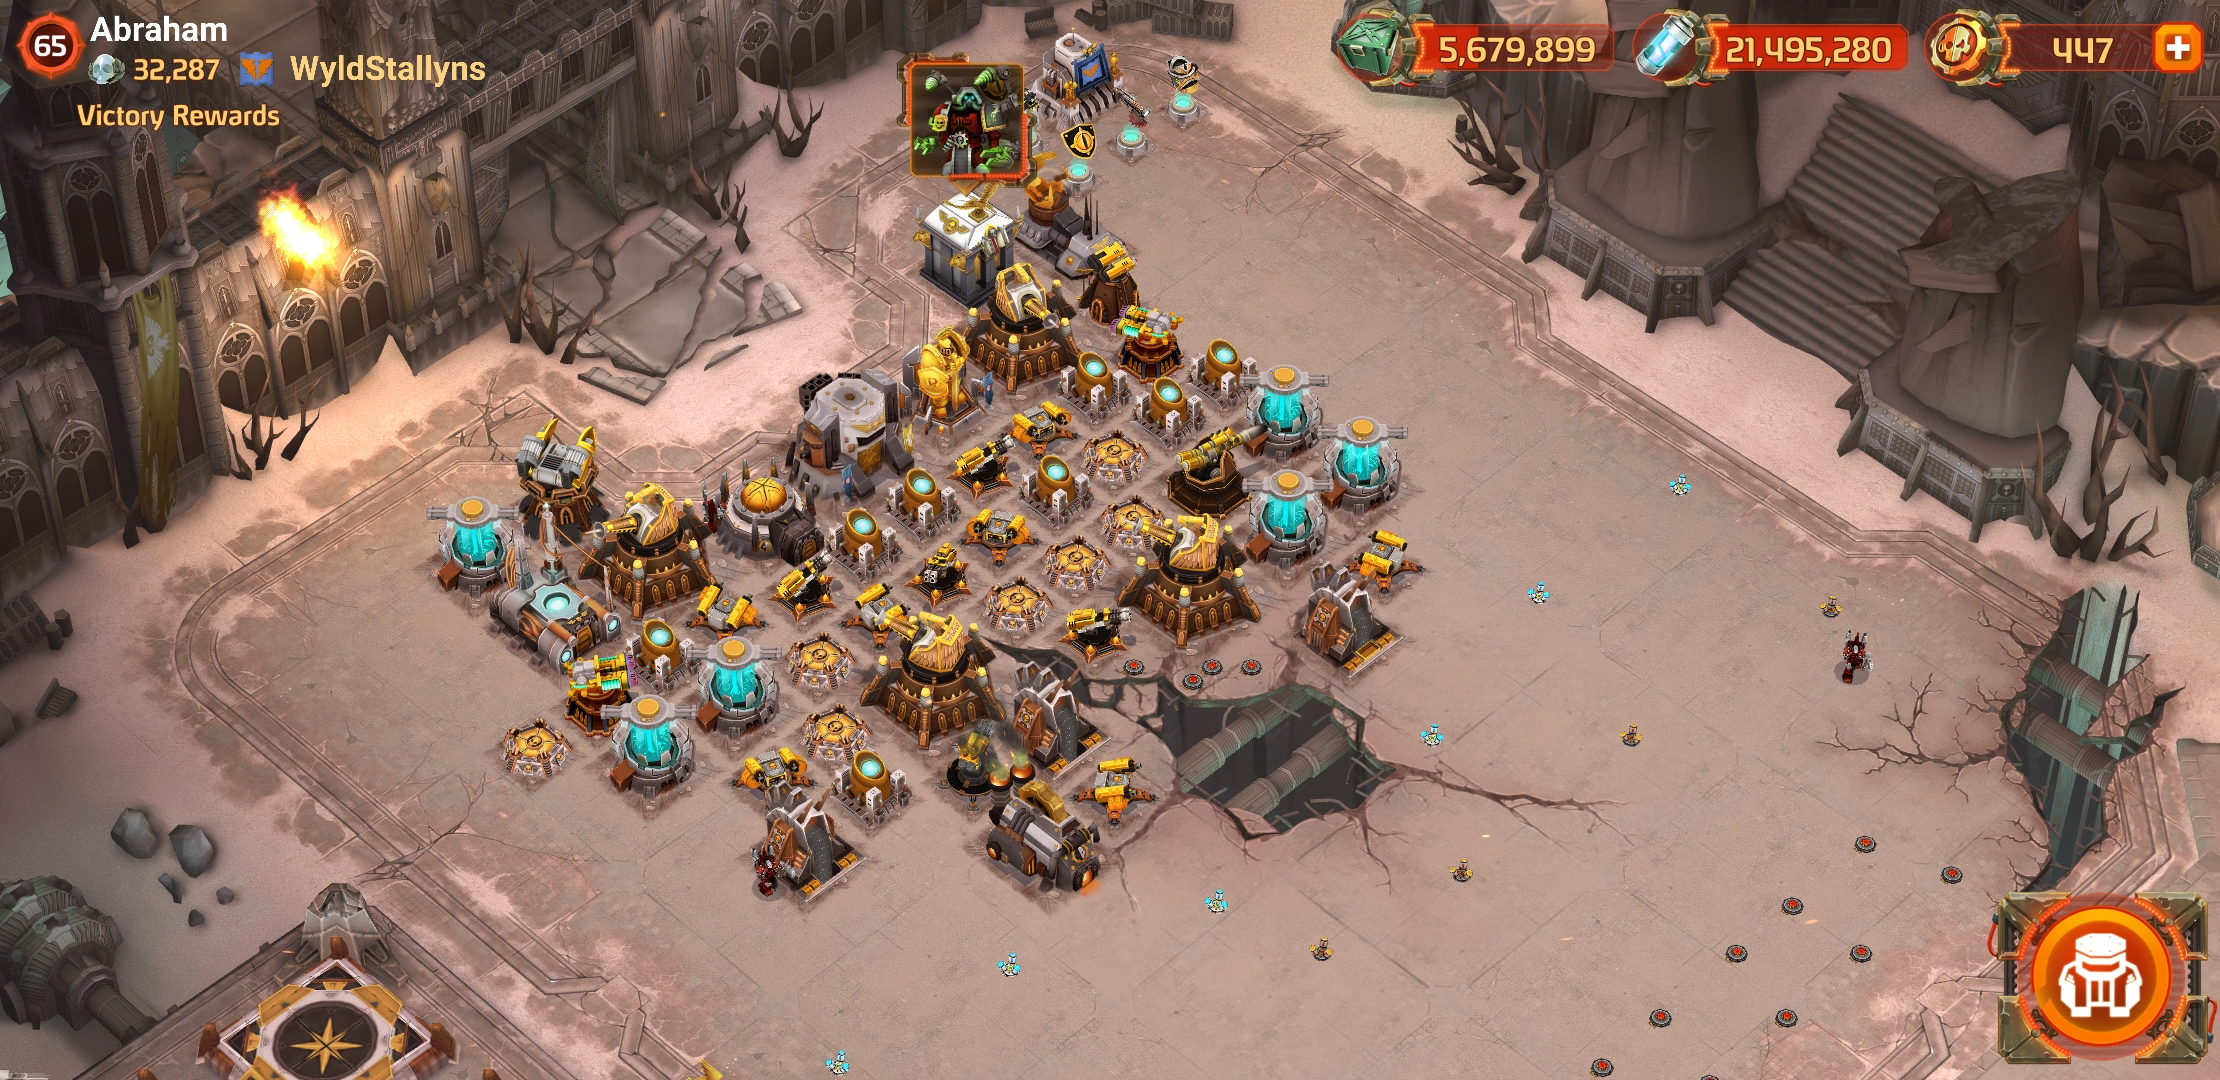
Keeping your base in the far back has the opposite advantages/disadvantages as the forward position. It is stronger against stealth heroes and Dray, but more vulnerable to long-range units/heroes. Position some long-range turrets in the alcoves at the very back of your map on either side. If possible, position beamers near the front of the base to make it harder for long-range units to attack your base with impunity.
Make sure some of your turrets are on either side of the fissure in the middle of your map. Since it is impassable, your opponents units will have to go the long way around to get from one side to the other, providing more time for your turrets near the back to fire on them.
Avoid spreading your base out over the entire width of the map, as this will make it too easy to divide/conquer your base or just attack it part at a time from one side to the other. A square shape is ideal.
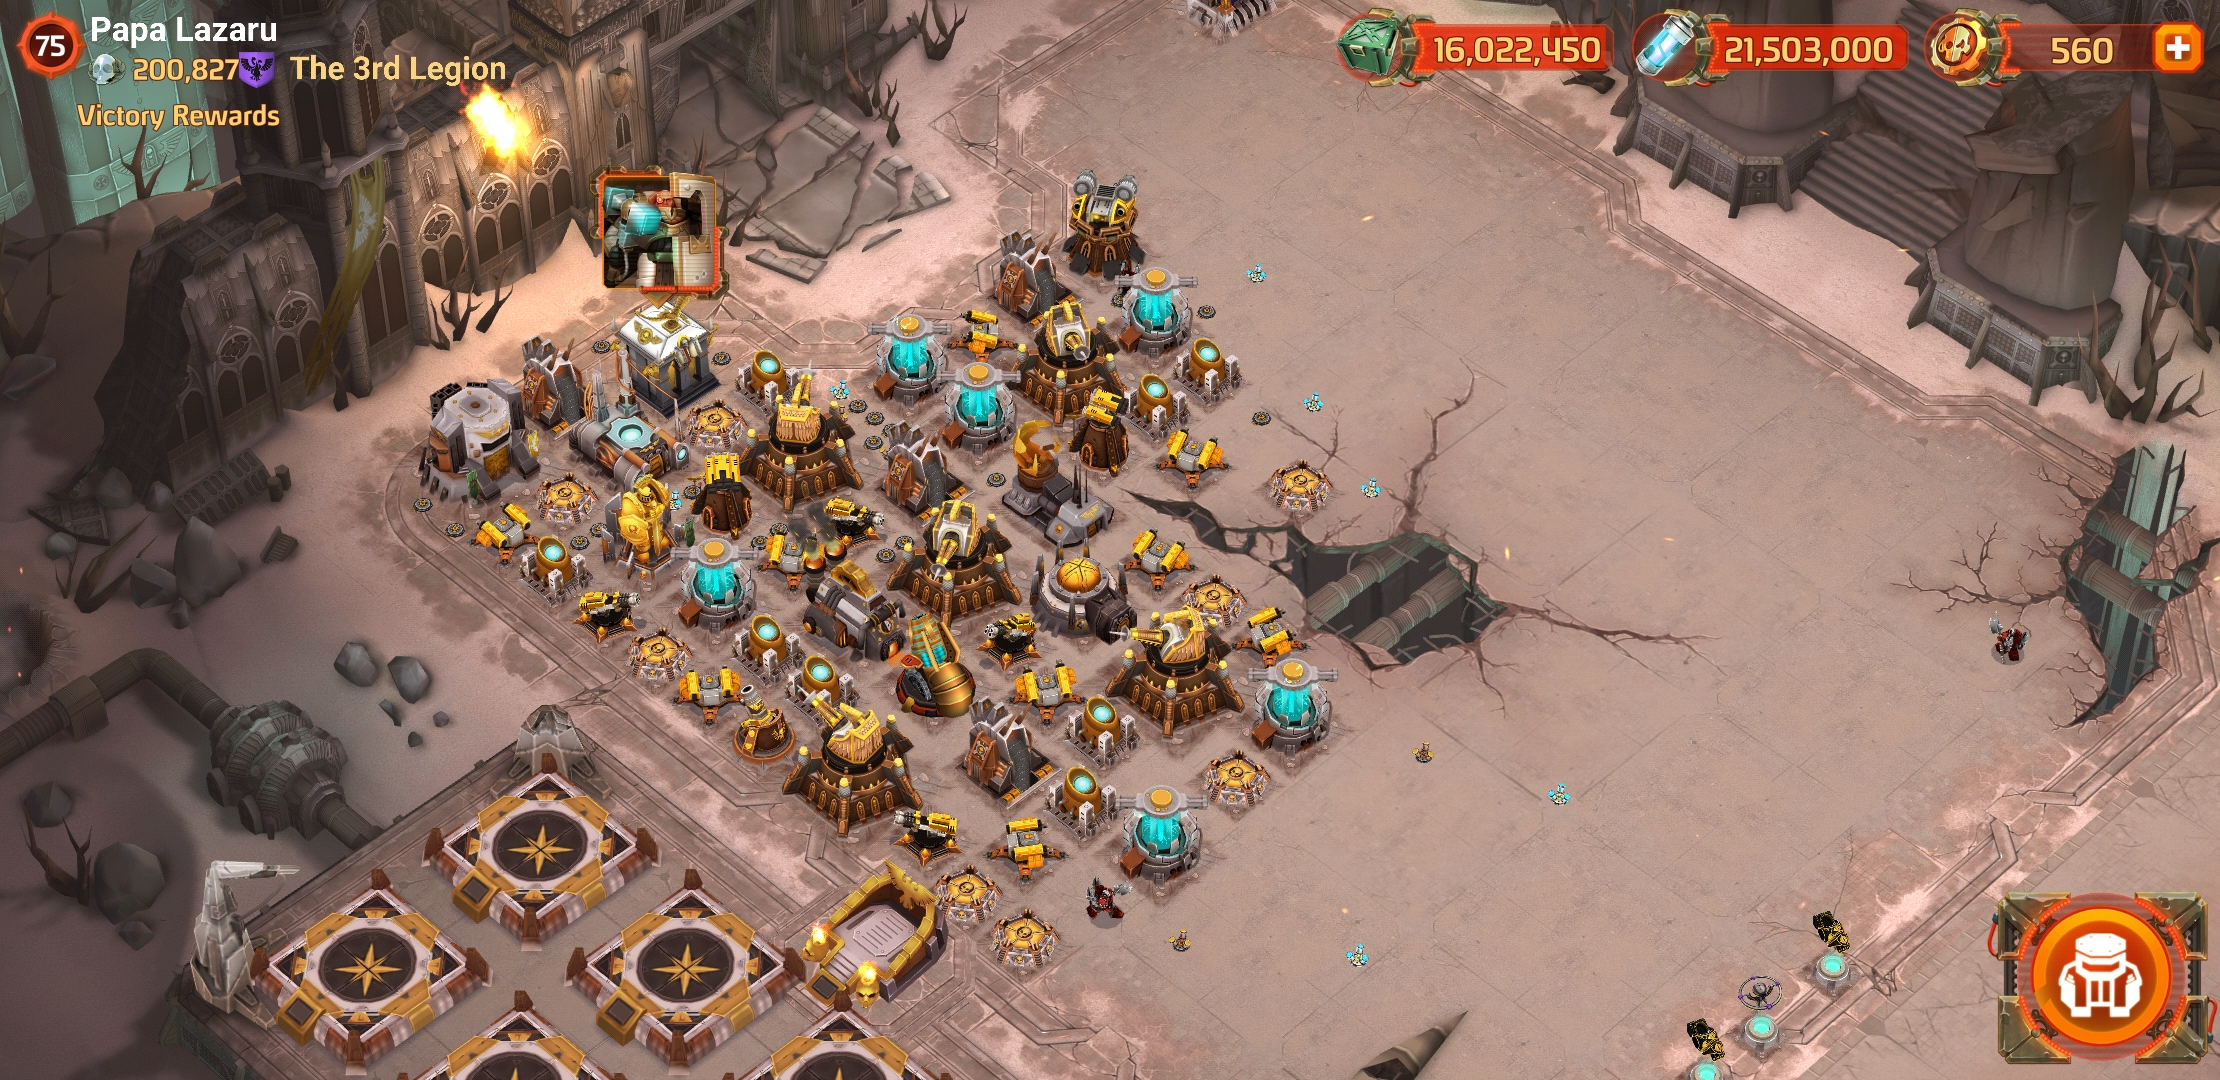
Positioning your base in one quadrant/corner of the map is a popular layout at the highest levels. It is similar to, and provides the advantages as, the back position.
The main difference is the available attack paths. While the back position has 3 possible attack paths (head on, attack from the left side, or attack from the right side), the corner position has 2. A good back position layout can ensure the left/right side attack path is not viable, forcing your opponent to attack head on (so you can optimize your layout for that attack path). But this can be hard to achieve. If you are getting attacked from the side in a back position, consider the corner position to reduce the number of attack paths from 3 to 2.
The corner position is also more effective against the Horus Bomb strategy because there is less space for units to attack the HQ if it is placed right in the corner.