Next: Scriptorum Placement Up: Defending Your Base Previous: Mine Placement Contents
Non-turret buildings provide a benefit to your base, but also a disadvantage. When a unit needs to find a new target, it moves to and attacks the closest target available. Support buildings can be used to distract the attacker's units. But, they also provide combat energy when destroyed, and this energy can be used to deploy more tactics.
The key is to place your support buildings in such a way that taking the time to destroy them is more costly than the energy gained. To accomplish this, make sure units attacking your support buildings are in range of your turrets.
Also consider the health of the support buildings. Power storage and munition drops are small but have a lot of health. So these should be placed in key areas in range of many turrets. The chapter HQ is very weak and is easy energy. Place it in an out-of-the-way location.
The best strategy for placing your support buildings is to interleave them with turrets. If your support buildings are all clumped together, the enemy can just avoid them. If your turrets are all clumped together, the enemy will attack one turret after another. Clumped turrets are also vulnerable to deathstorm and splash damage from volkite weapons.
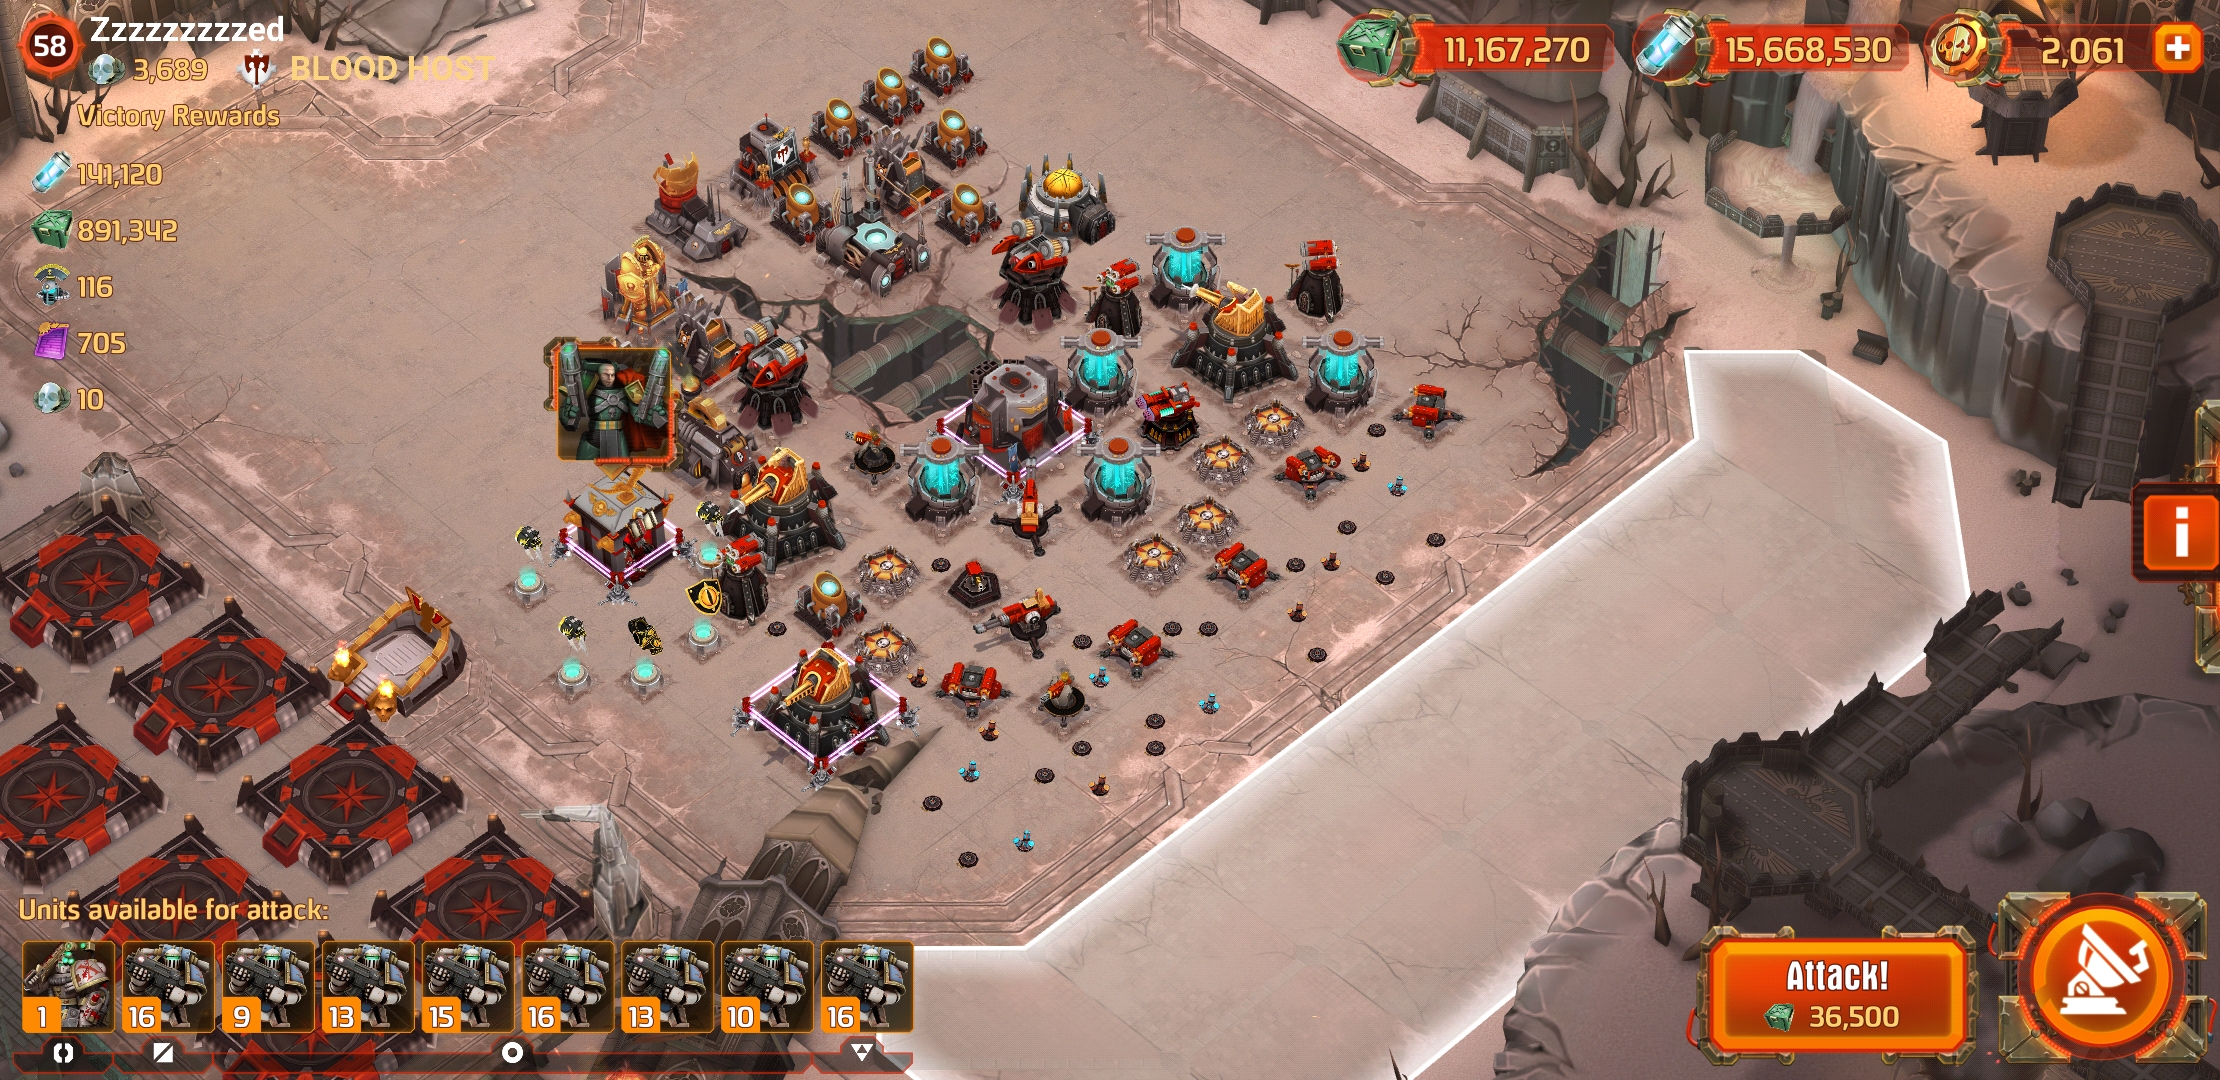
What not to do: many of the support buildings on this base are at the back, and not distracting the attacker from attacking turrets.
Consider making a wall in front of or around your base with high-health buildings (power storage and munitions drops are good since they are also small). Place your turrets right behind the wall. Then the enemy will attack the wall first, and lose some of their army before even attacking the first turret.
Another use of support buildings is to direct the flow of the enemy units. If one side of your base is a bit weaker than the other, place a support building in front of your base, on the stronger side. Then unless beacon is used, units will move for the forward building and then move into the stronger side of your base.